Ender-3 V2
₹21,000.00 Original price was: ₹21,000.00.₹16,999.00Current price is: ₹16,999.00.
- Integrated compact design with All-Metal body
- Sturdy structure design which is easy to assemble
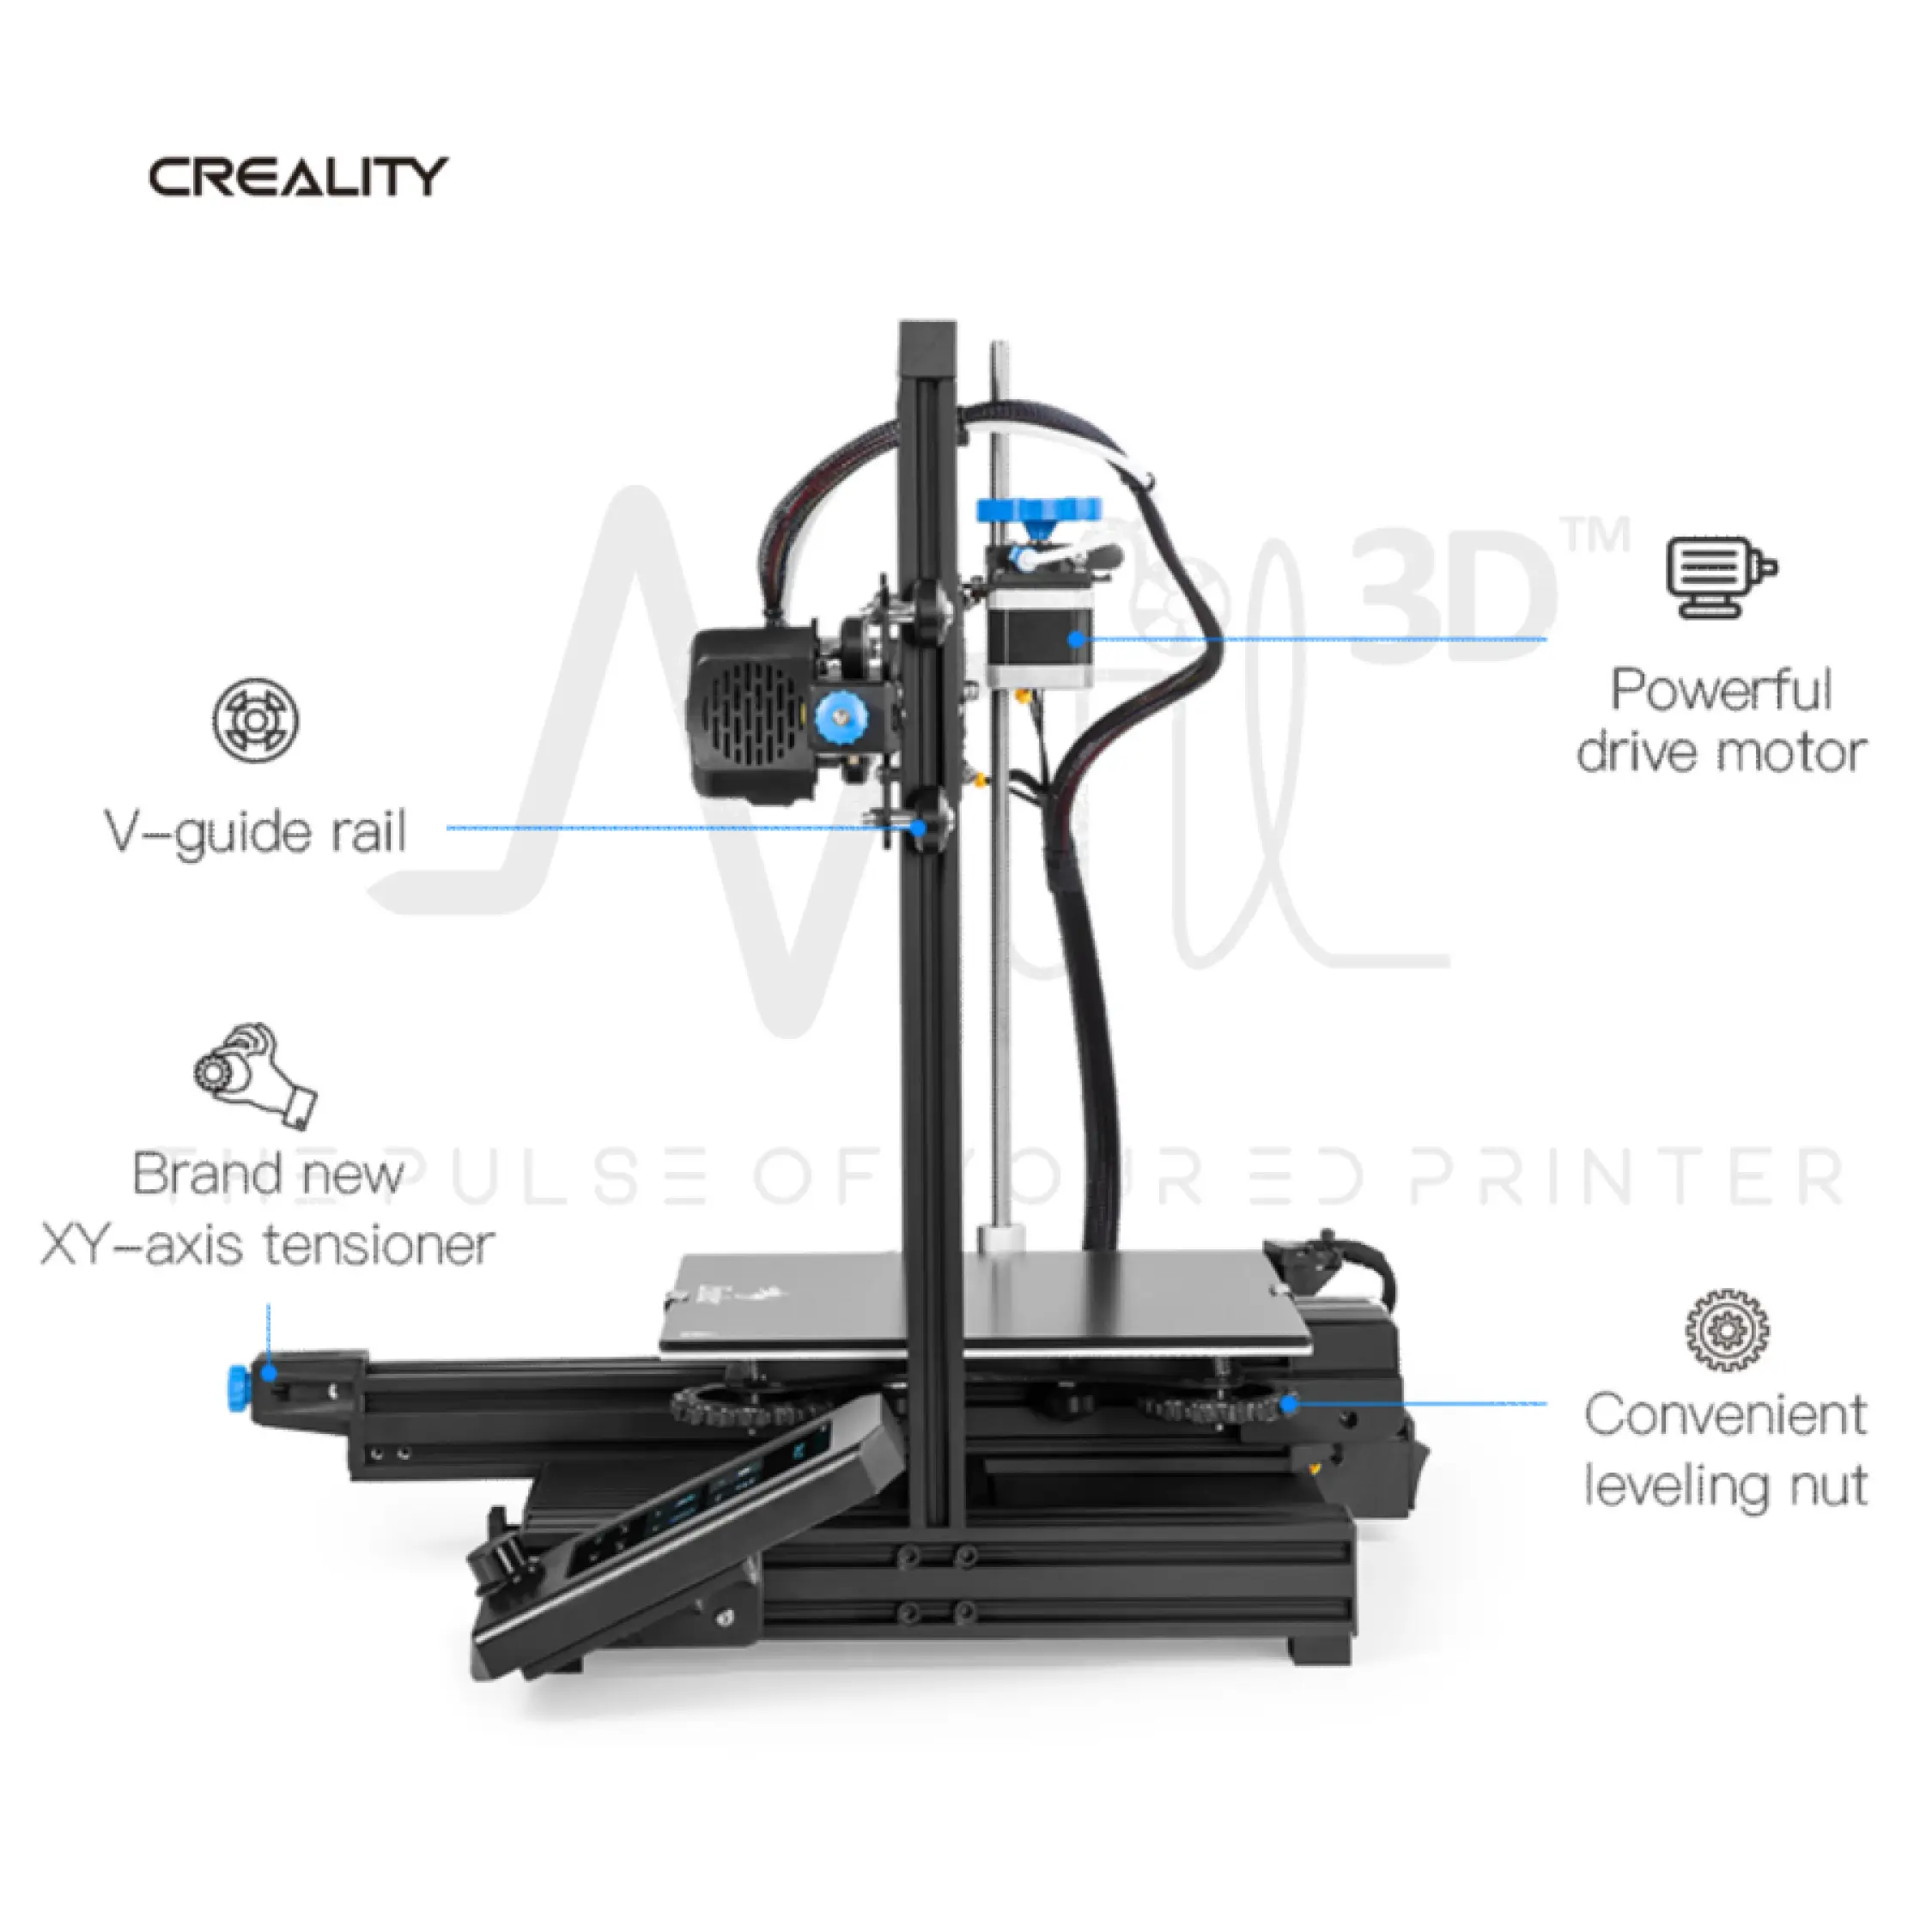
- V-Guide rails with higher stability for printing
- Carborundum Glass Platform
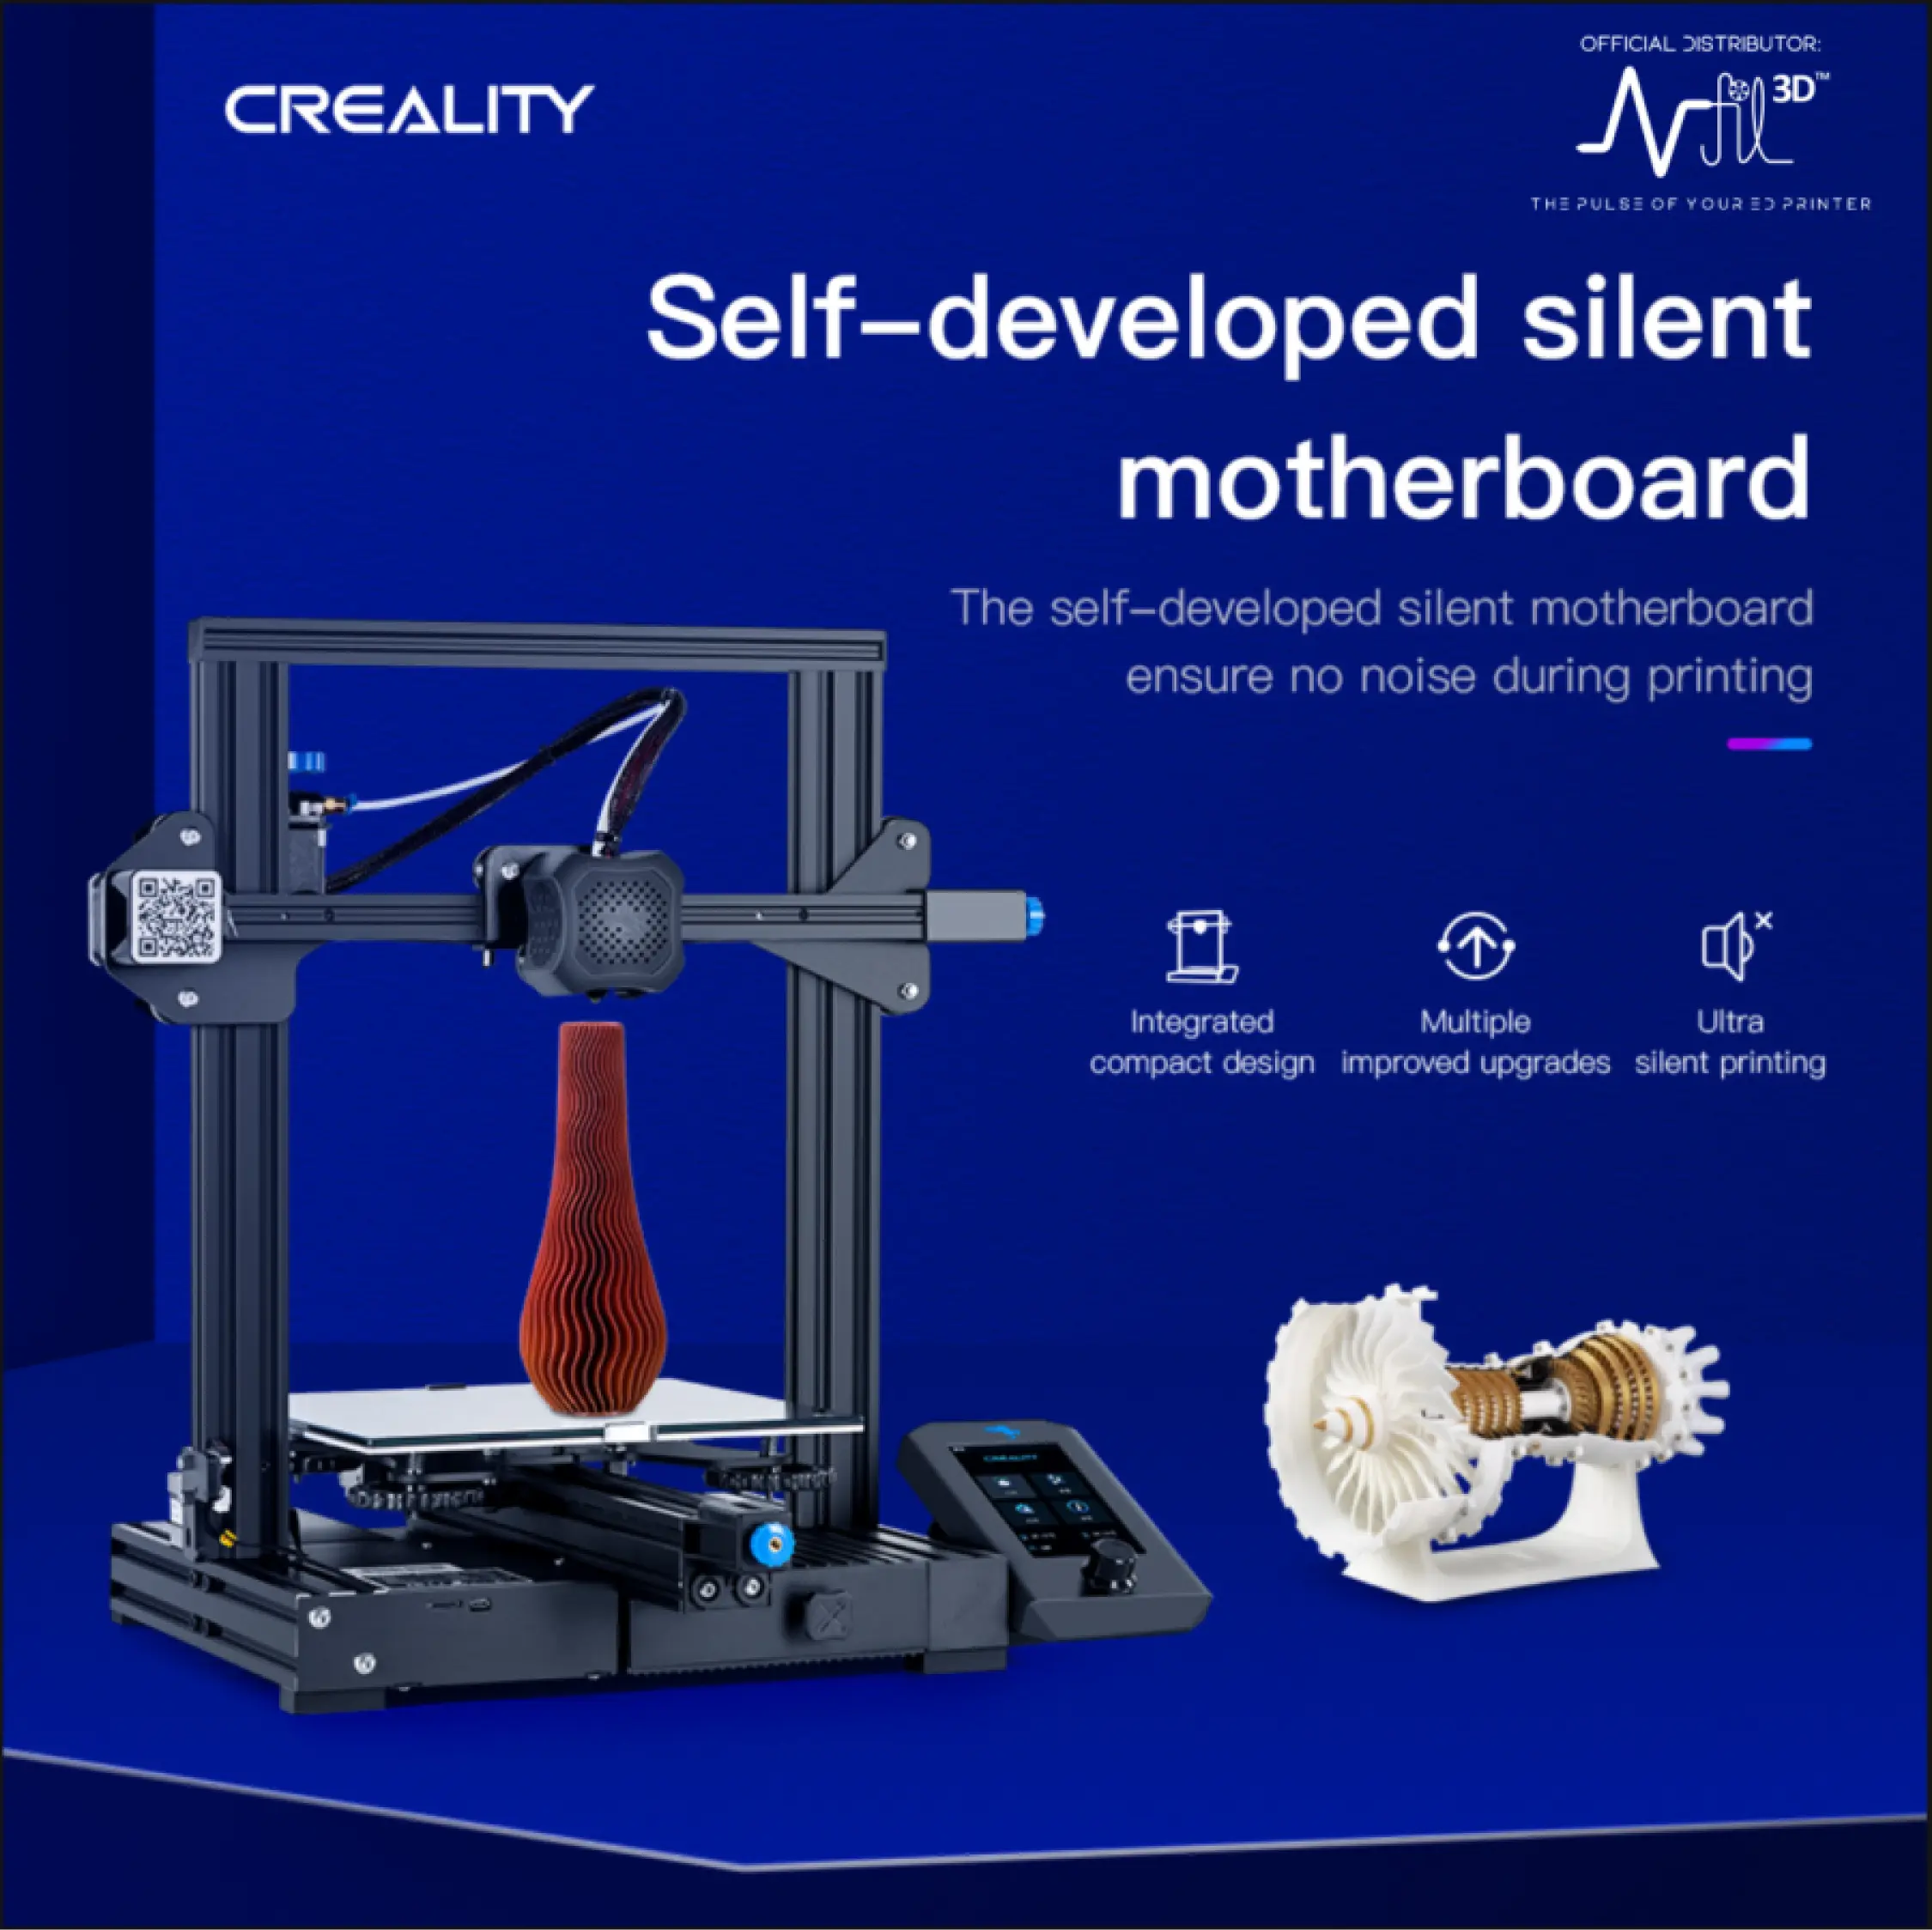
- Self-Developed Silent Motherboard
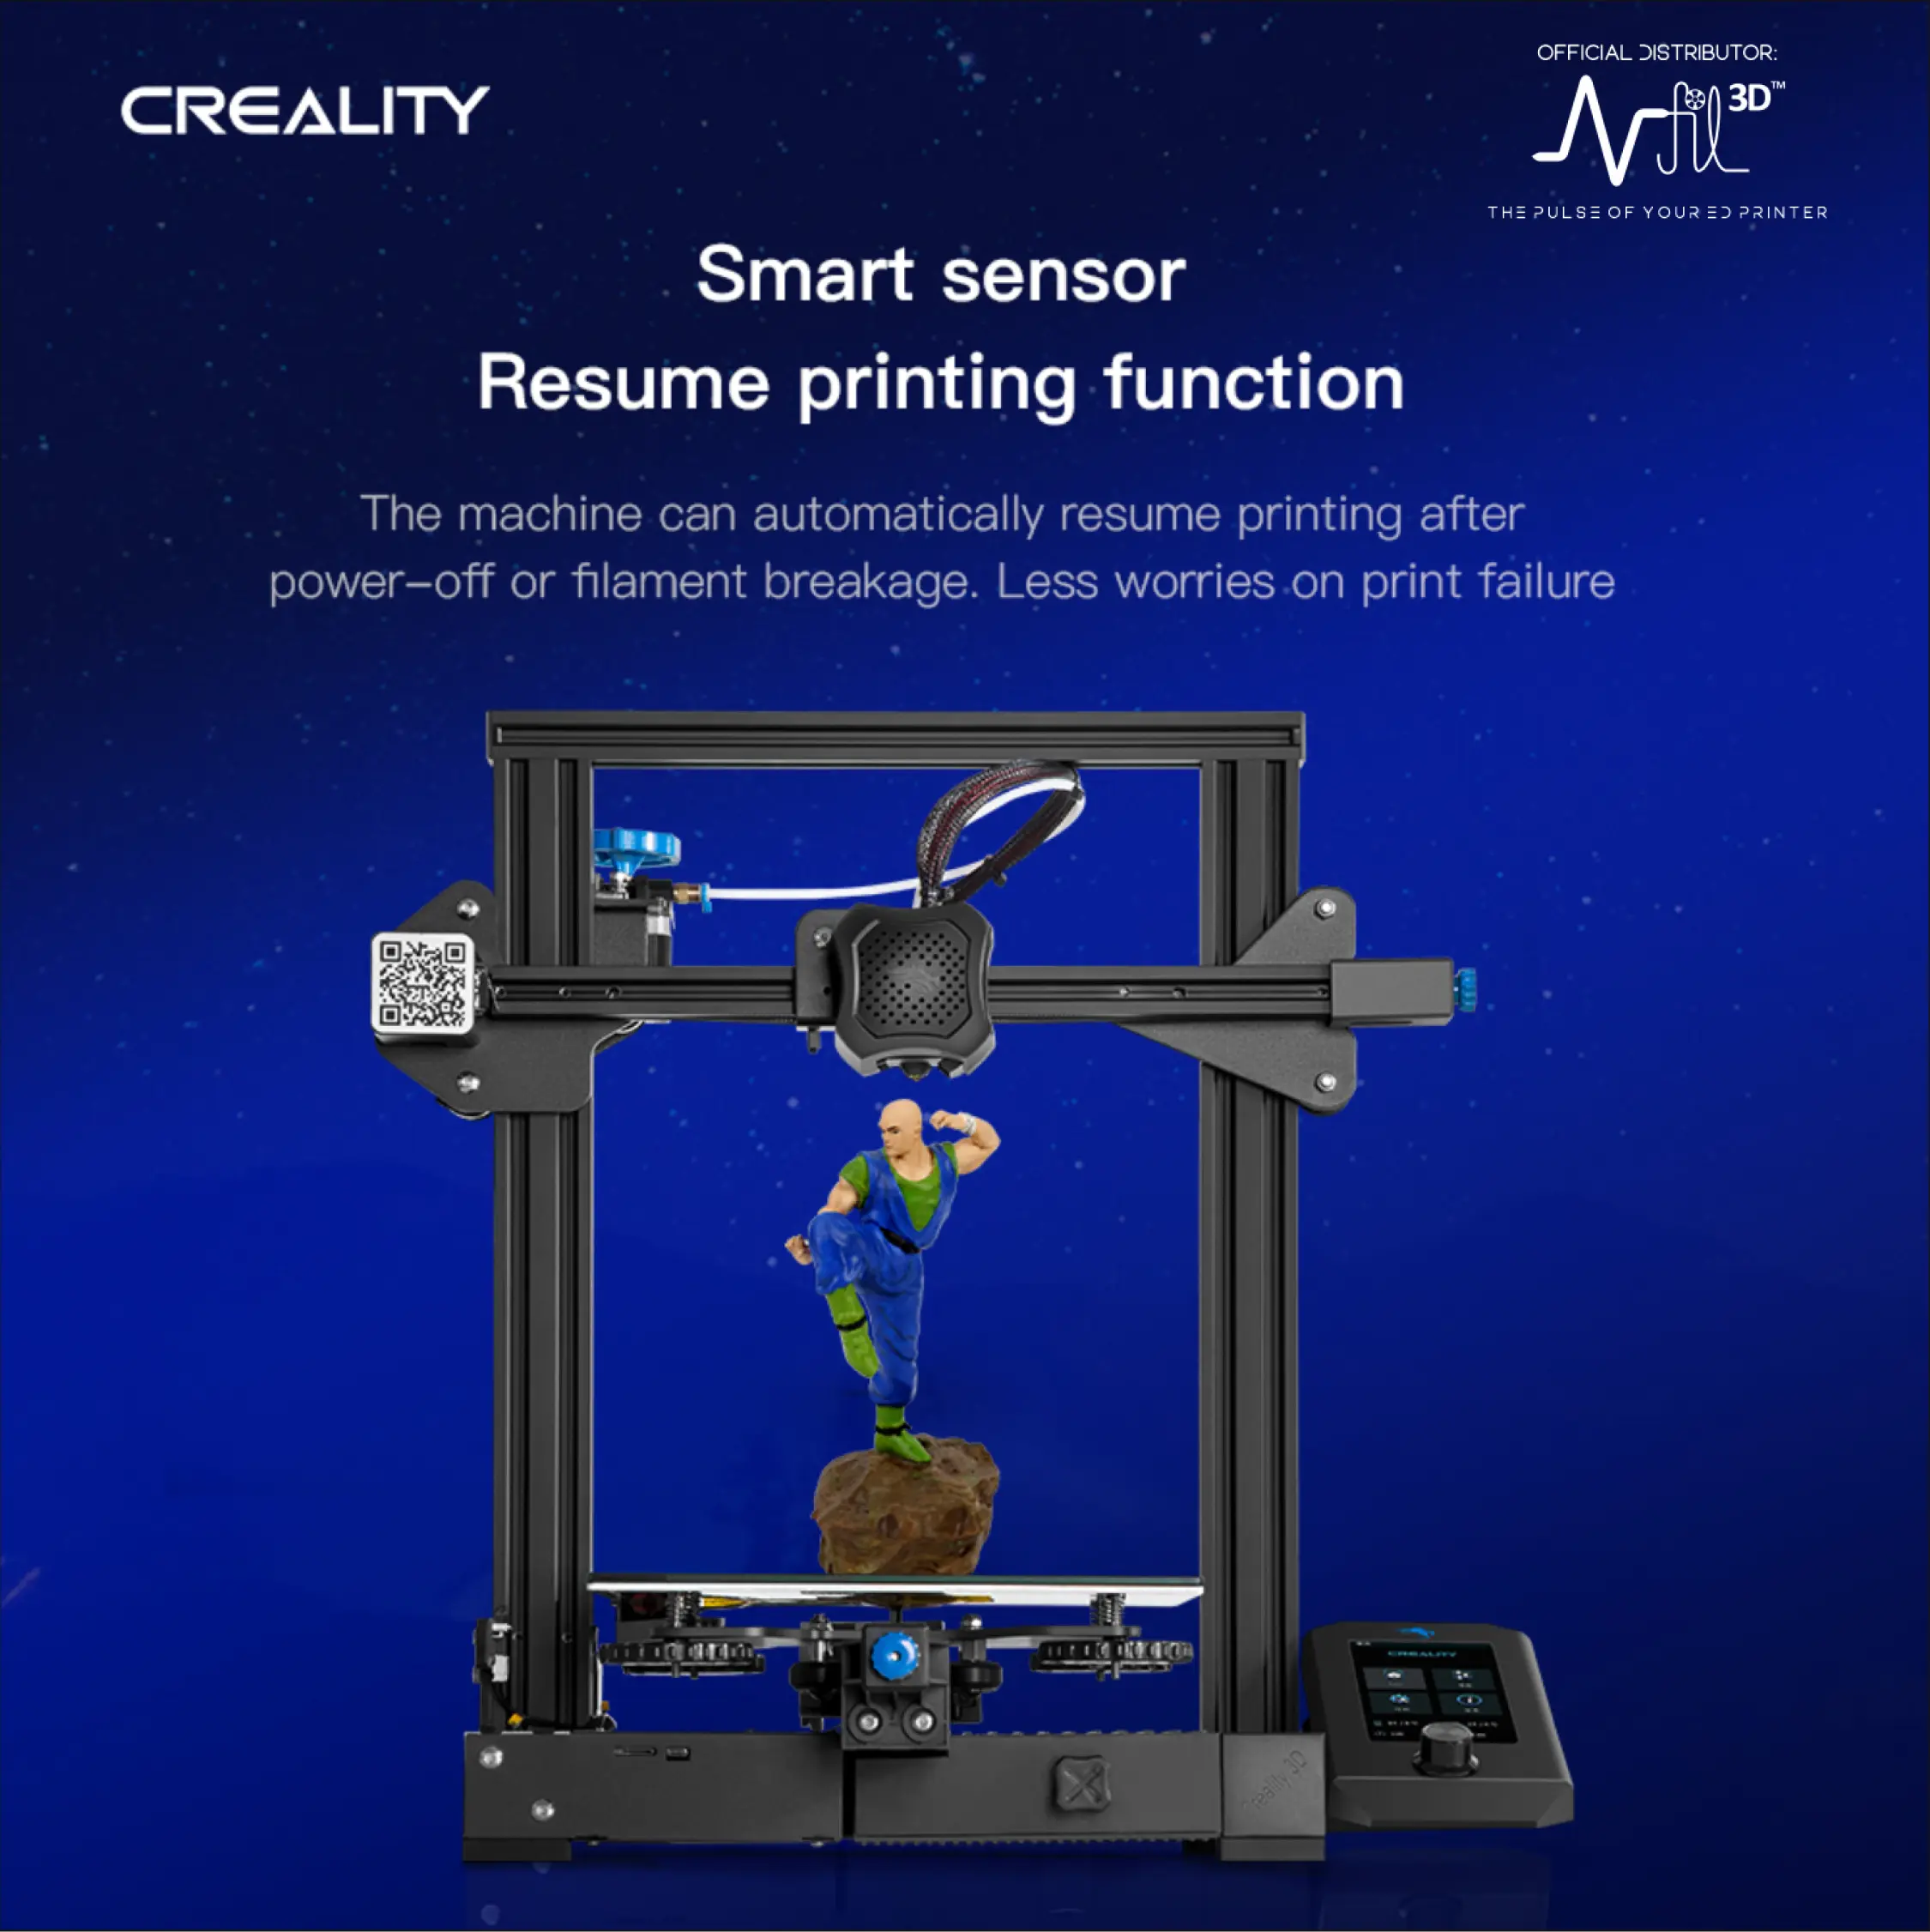
- Print Resume Function
- New-Injection tensioner and Add-ons
- Colorful touch screen and brand new user interface
-
Modeling Technology: FDM(Fused Deposition Modeling)
-
Print Size: 220x220x250mm
Out of stock
Related products
-
3D Printers
CR-10 SMART
Rated 0 out of 5₹47,999.00Original price was: ₹47,999.00.₹32,999.00Current price is: ₹32,999.00.Add to WishlistAdd to Wishlist -
3D Printers
CR-Scan 01 3D Scanner – Portable with Accuracy 0.1mm
Rated 0 out of 5₹59,999.00Original price was: ₹59,999.00.₹52,999.00Current price is: ₹52,999.00.Add to WishlistAdd to Wishlist -
Add to WishlistAdd to Wishlist
-
3D Printers
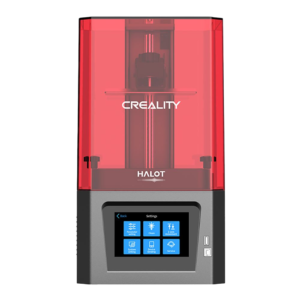
Halot LITE | Creality | Resin 3D Printer
Rated 4.00 out of 5₹49,999.00Original price was: ₹49,999.00.₹47,999.00Current price is: ₹47,999.00. Buy NowAdd to WishlistAdd to Wishlist
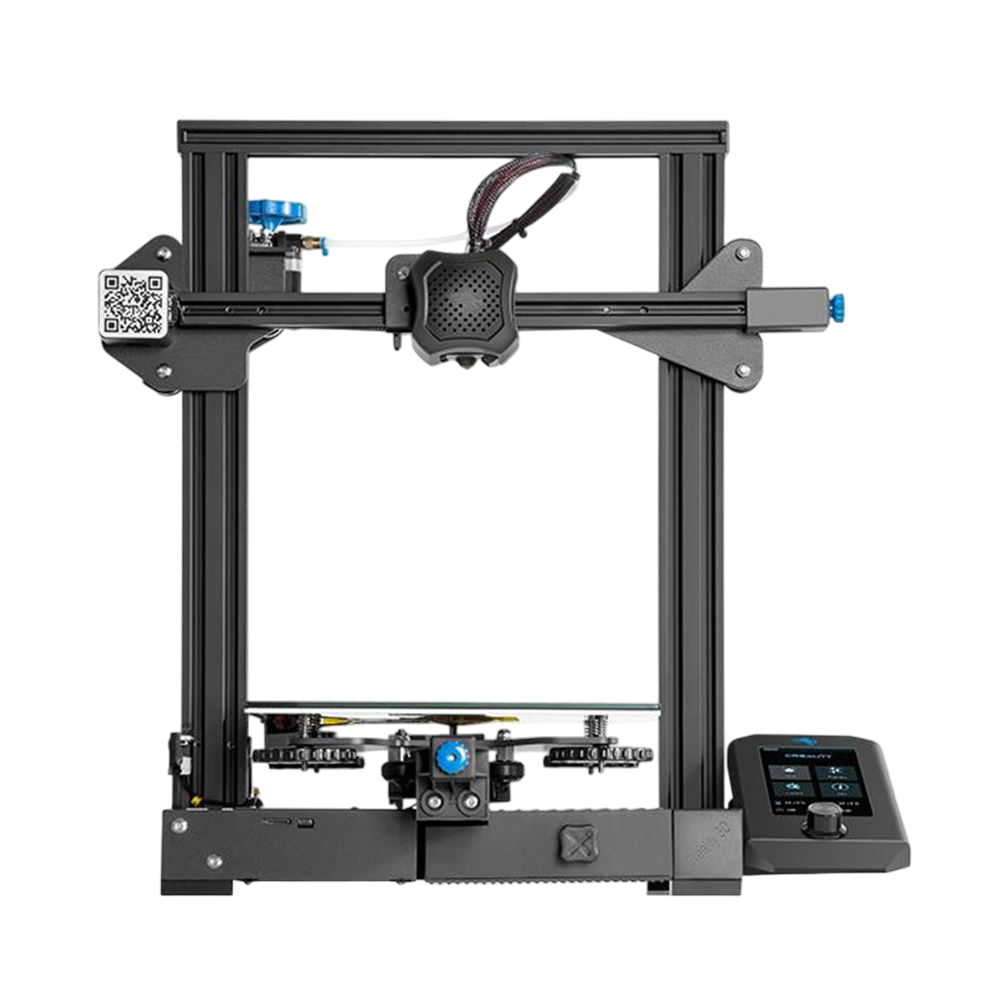
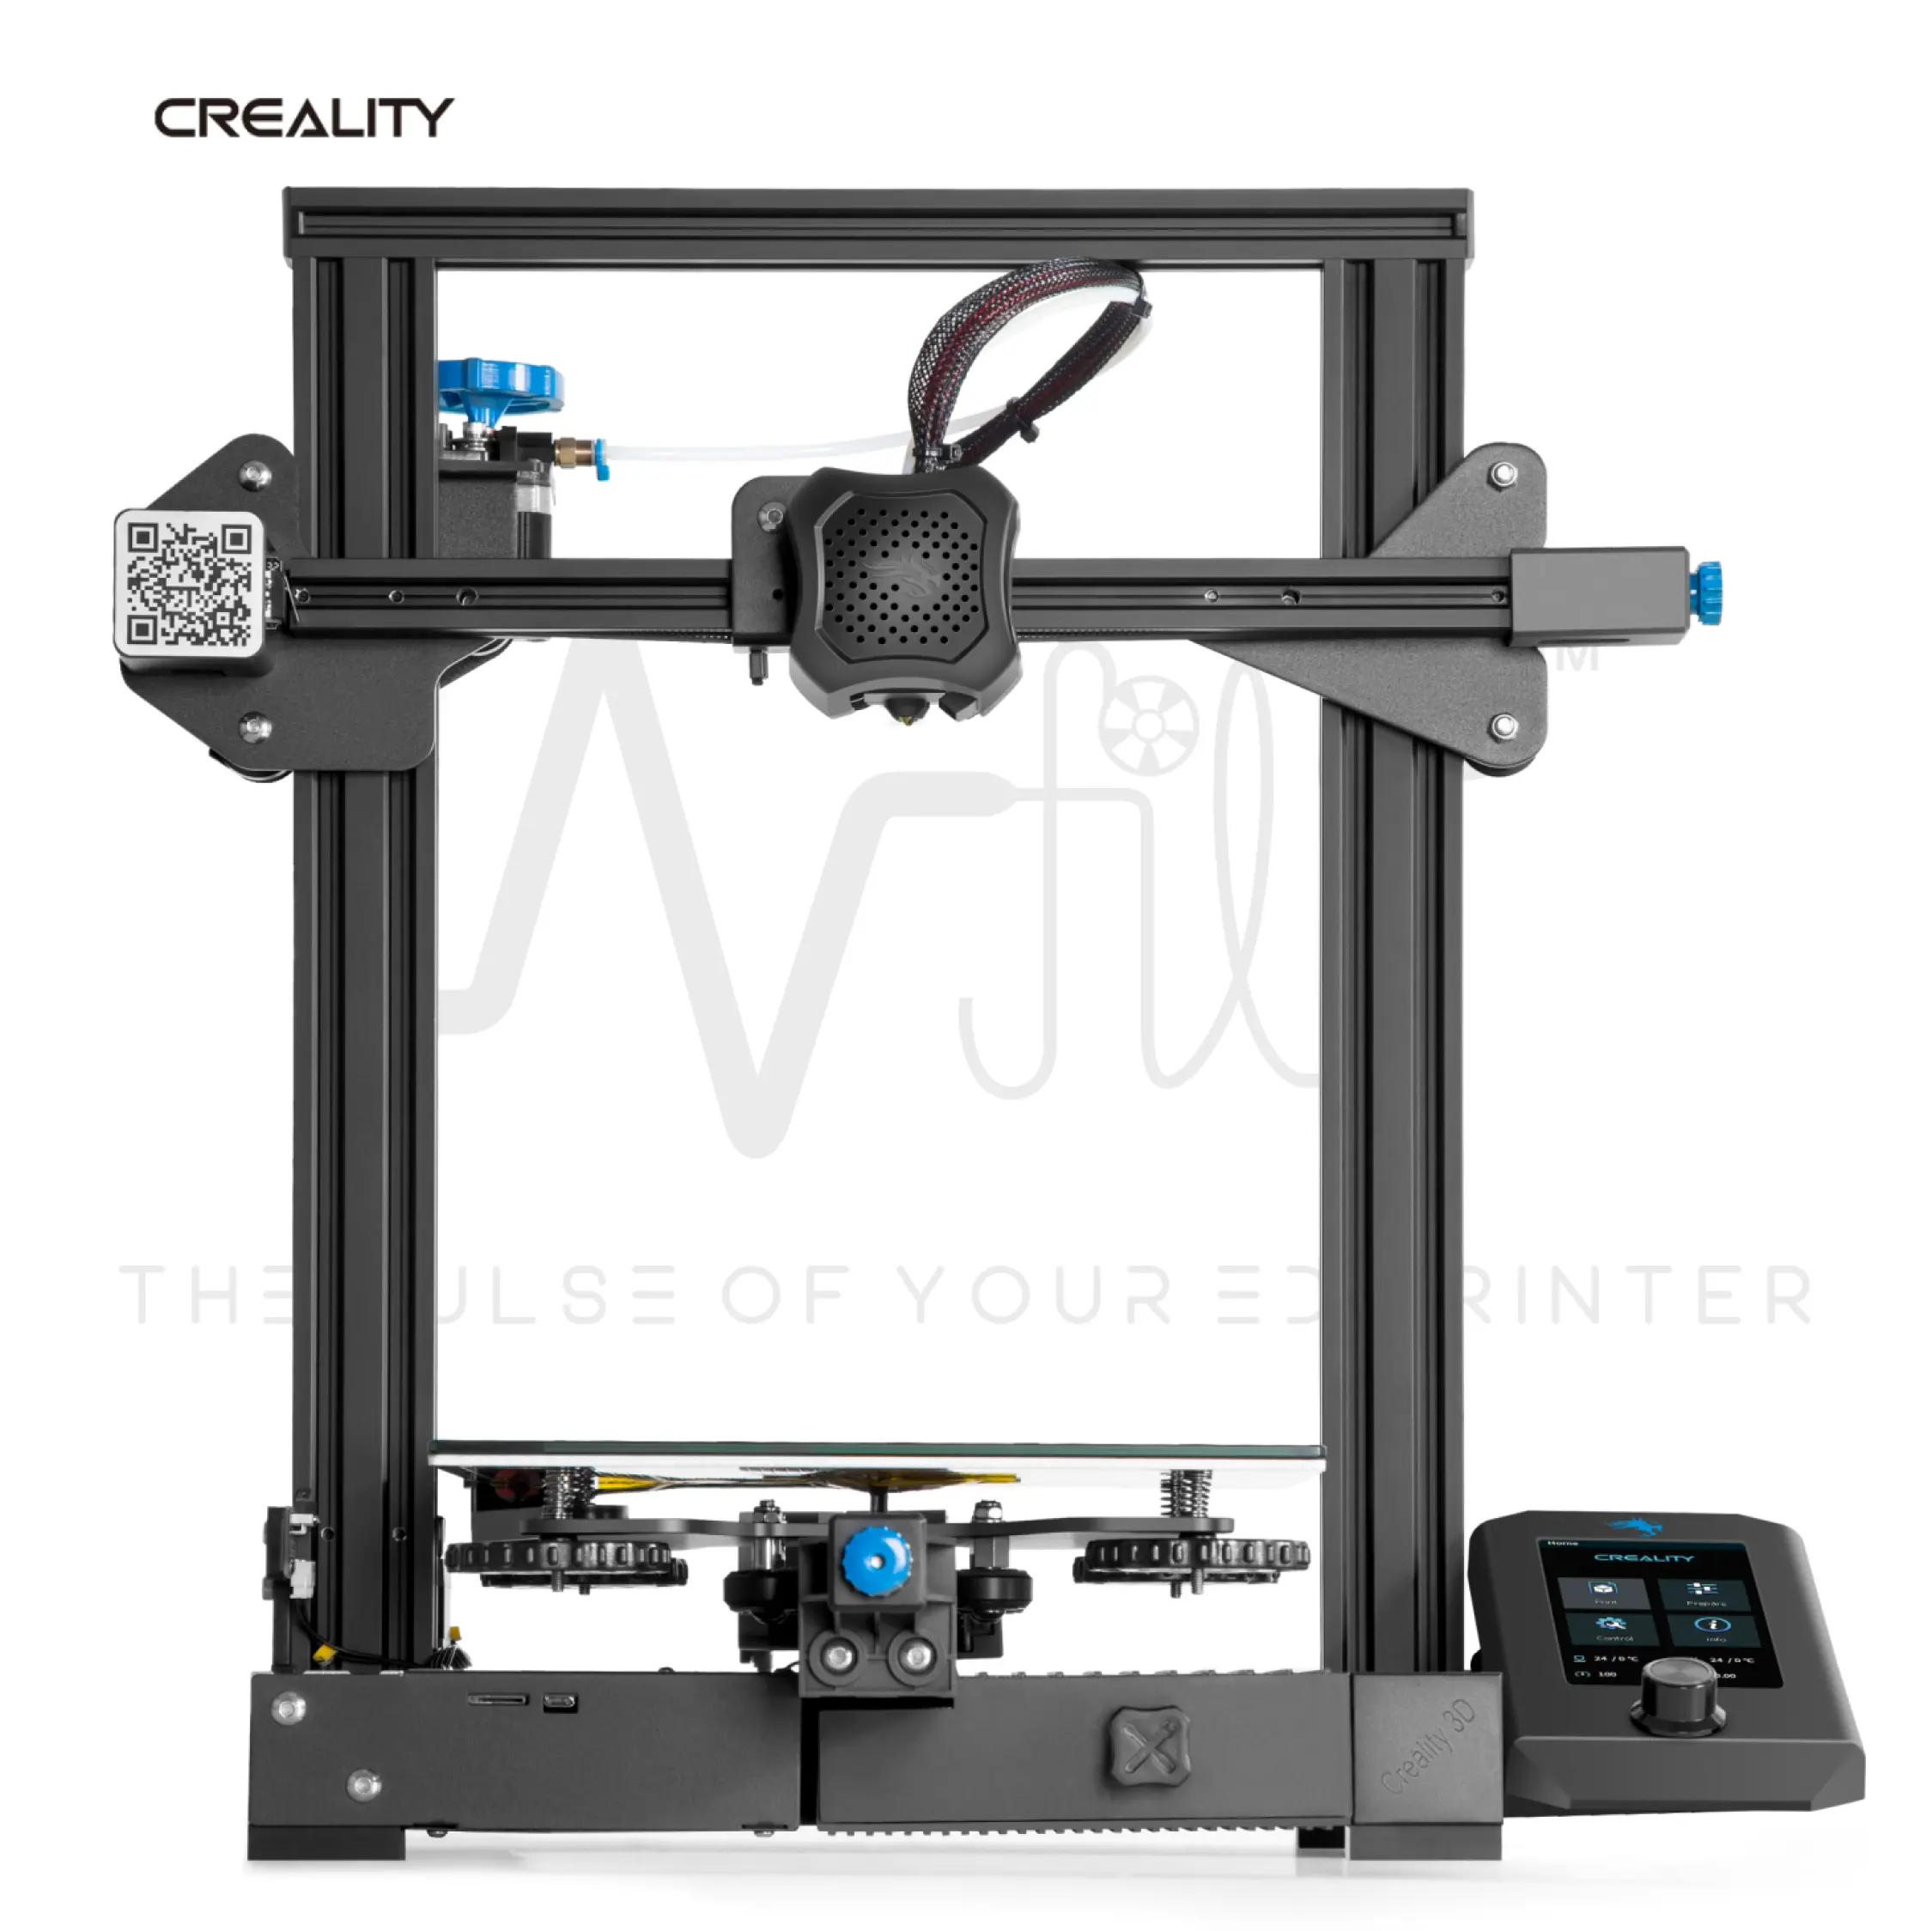
Creality’s Ender-3 V2 has long been one of our favorites when it comes to affordable FDM 3D printers. At this lower price, it offers a decent print volume, is easy to assemble and improve, and can produce high-quality prints.
Creality sets a new baseline for budget 3D printing. It’s the same old Ender-3 3D Printer experience, improved with current hardware that includes a 32-bit mainboard, silent stepper motor drivers, a much cleaner appearance and design, plus plenty of other small finishing touches.
Creality Ender-3 V2 3d printer has the same delicate appearance as the DIY 3d printer kit Creality Ender-3.
An integrated all-metal body inherited from its predecessor Creality Ender-3 3d printer, firm and stable.
With Integrated structure and modular design, the power supply is concealed in the machine, it’s more convenient and safer for you to operate, it’s so kind to design, right?
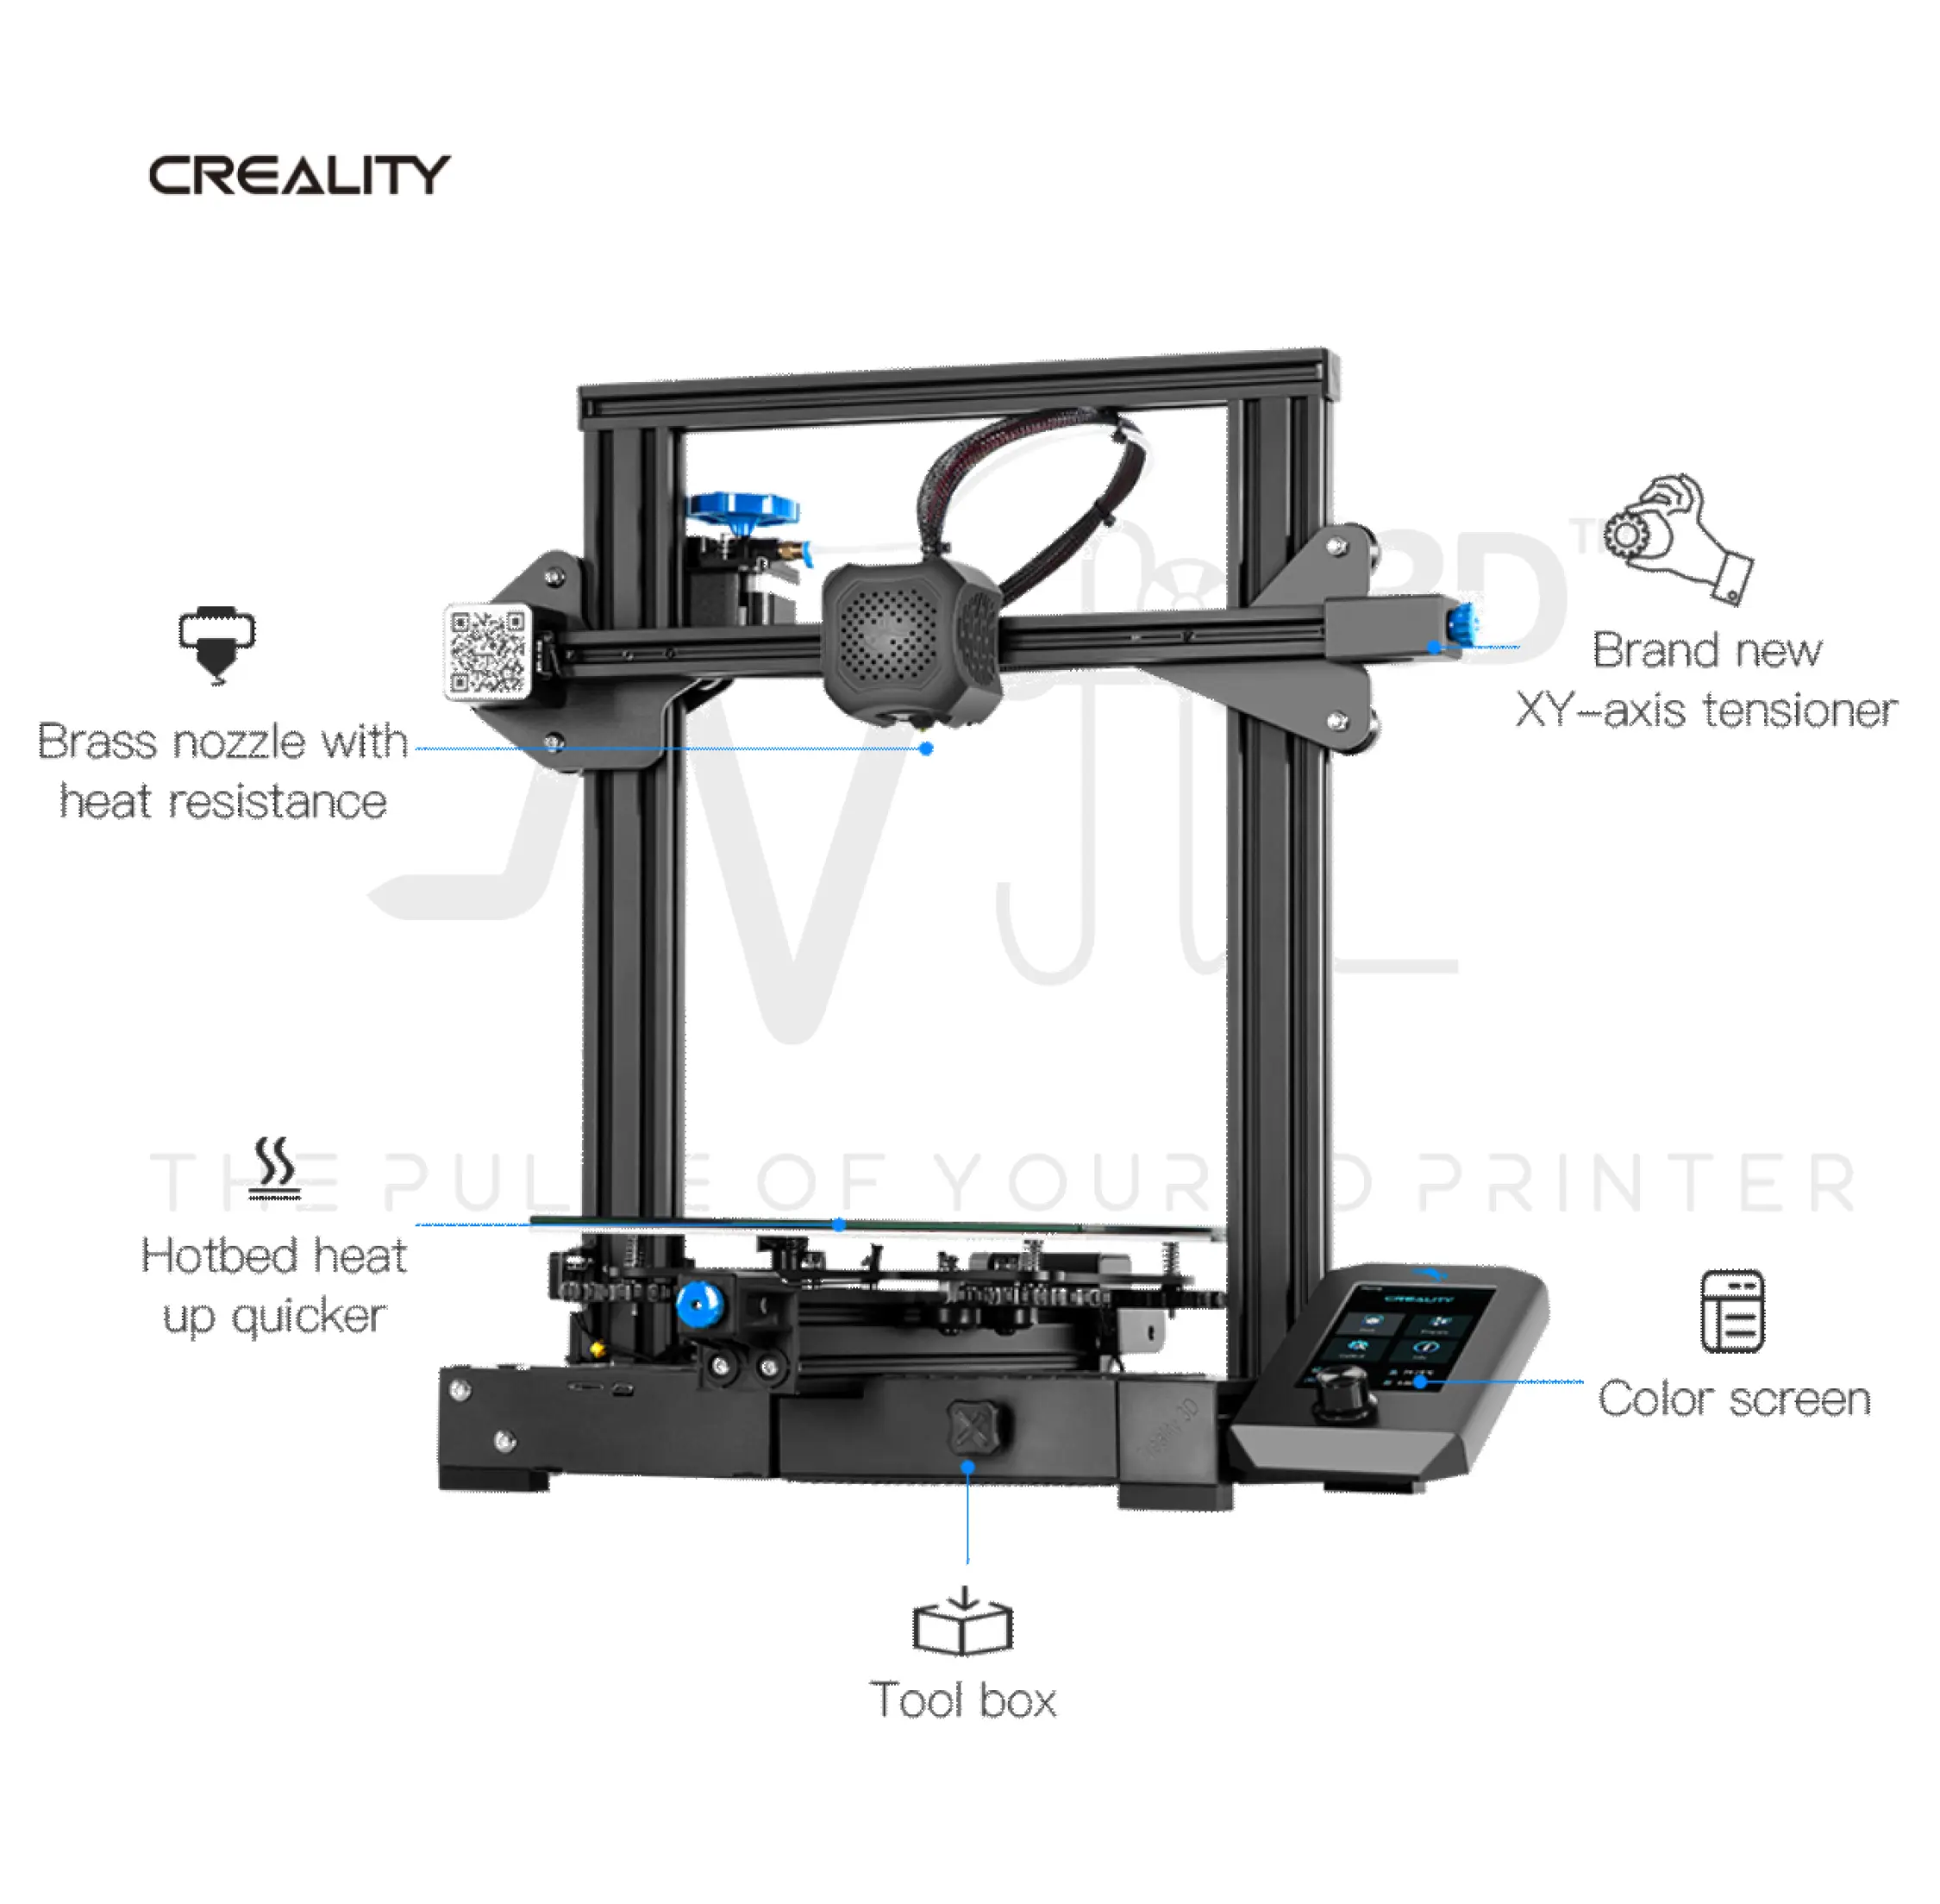
- Creality Ender-3 V2 3d printer equipped with the Carborundum Glass Platform as always
The platform enables the hotbed heat up quicker and prints adhere better without warping. So you will see the ultra smoothness even on the first layer of the model.
- Creality Ender-3 V2 3d printer is equipped with a new self-developed silent motherboard
It has stronger anti-interference, faster and more stable motion performance, silent printing, and low decibel operation.
Therefore, when you print the model at night, please don’t worry, it will not disturb your rest.
So that not only you can have a good night, but also you can print the exquisite model.
- Creality adds a rotary knob on the extruder to operate conveniently
And what’s more, we need to press the extrusion clamp to feed-in, sometimes, the extrusion clamp is easy to break, so the rotary knob is a very friendly design.
- Creality Ender-3 V2 DIY 3d printer also adds the toolbox under the hotbed for better organized
As per the feedback received from many people, the screws or other small tools are often lost and a toolbox along the printer will be very helpful for people. So we upgraded the printer with an in-built toolbox.
So if you have more good ideas about the printer, you can send an email to Creality or to N-fil3D, maybe in the next new printer, you will find them.
Creality Ender-3 V2 3d printer changes the previous screen to a 4.3 inch HD color screen.
It upgrades the user experience with the newly designed operation UI system. It’s simple and quick to operate.
Also, this color screen can remove easily to repair, which saves a lot of time and energy.
Ender-3 V2 Introduction Video
Here is the link for Introduction Video:
Ender-3 V2 e-Brochure
Please find enclosed the brochure for the most widely selling FDM 3D Printer:
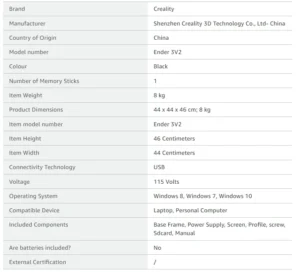
Technical Specifications
FAQ
Q: How to heat the nozzle/hotbed?
A: Select the button of print-PLA preheating, or select the button of control-temperature-nozzle/hotbed temperature (nozzle up to 250, hotbed up to 100), and wait for the temperature to rise.
Q: How to load filament into the Creality Ender-3 V2 3d printer?
A: Step1. Please turn on the machine, click the button of control, to select the button of temperature, and the nozzle temperature is setting 200 degrees Celsius.
Step 2. When waiting for the temperature to rise, please cut the front end of the consumables at a 45-degree angle and hang the filaments on the material rack.
Step 3. Press the extrusion spring and insert the filament until the nozzle along the extrusion. When the temperature is up to the target temperature, the filament will come out of the nozzle, nozzle, and complete loading the filament.
Q: Which filaments support to print in the Creality Ender-3 V2?
A: It supports printing the PLA、TPU、carbon fiber and other linear filaments.
Q: How to move the X/Y/Z/E axis separately?
A: In “Preparation”, select “Axis Movement” to control each axis individually, and you can also select the distance of each movement (0.1mm/1mm/10mm)
Q: How to replace the filament in the Creality Ender-3 V2?
A: Please hold the nozzle at 200 degrees Celsius at first, then pinch the extrusion clamp to push the old filaments forward and pull it out quickly, while preheating the nozzle and withdraw the filament quickly and feed the new filament.
| Weight | 9.6 kg |
|---|---|
| Dimensions | 47.5 × 47 × 62 cm |




Reviews
There are no reviews yet.